Saturday, October 22, 2011

Simply Saturday: Marshmallow Fondant

I apologize for not posting much this week. It has been a bit crazy busy and my blogger post thingy is not working right. Mock my choice of words if you will, but you got what I was talking about. I think.
I get asked quite a bit about how I make fondant and why mine doesn't taste yucky. I usually reply that is because it is just marshmallows and powdered sugar. What I don't say is that it really is a pain to make sometimes, but it does taste better than what you buy at the store. I do only use Marshmallow Fondant on my cakes, even though it can be finicky, but it is worth it because it tastes better. I like my cakes to taste good all around, so I hope you all feel the love.
Here is how I make it, in case you were wondering or you have an hour to spare to try it on your own.
You will need:
Marshmallows, about 6 cups
Powdered Sugar, about 1 lb
Crisco, just keep about a cup or two handy
1 tsp Vanilla
1 Tbls corn syrup

So sorry about the vagueness of the ingredients, just go with it.

Start off by coating everything with Crisco. The marshmallow bowl, mixer bowl and dough hook, also  your utensils you will use to stir and scrape, trust me, it will help with the stickiness of this project. Very important step.


Start with about 6 cups of marshmallows

I say "about"  6 cups, because at my house little hands find their way into the marshmallow bowl when I'm not looking.
Add  1 Tbls of water to the marshmallows and microwave for 30 seconds at a time, stirring in between each one. It takes me about 60-90 seconds. I stir this with a wooden spoon coated in Crisco.
 The marshmallows should be liquidy. Place about 2 cups of powdered sugar in the bottom of mixer that is fitted with the dough hook. Start mixing.

After mixing for a bit, add 1 Tbls of corn sryup, this just help with the elasticity of the fondant. Also add the 1 tsp of vanilla at the time and a few more cups of powdered sugar. Keep mixing.
Keep mixing until your mixer sounds like it is working too hard. I stop to scrape down the bowl and do a finger test, if it is still really sticky, mix add some more powdered sugar and mix some more.
This is about right, only a little bit sticking to the finger. Time to transfer to a different surface. Coat your hands with some Crisco. 
These are two items you use often in this process, so get them handy once again. Your Crisco and powdered sugar.
I am not getting paid for these "Crisco plugs", but I should, don't you think?


Transfer to a surface covered in powdered sugar. This is why you need your hands coated in Crisco, it helps keep the sticky fondant off your hands and helps with the transfer. Then start kneading like bread dough. If you don't know how to knead, I had to work on this so don't feel bad, just fold and press with the palm of your hand.  

Knead until you feel like your hands are going to fall off, your wrists are aching and your arms are screaming for you to stop. During the kneading process you will have to keep adding powdered sugar, about 2 more cups and continue to coat your hands with Crisco. Hopefully this helped. Happy Kneading!
If you have any questions or need a bit more help, just message me!

Tuesday, October 18, 2011

Birthday Cakes

I would like to take this time and share some past birthday cakes I have made.

I have a few birthday cakes I will be making within the next month. I can't wait to share them with you. Now that I am blogging I will take start to finish photos of those. In the mean time, here are a few I have made. Whether you are 3, 18 or 60, everyone has a birthday and that is always a good time to have cake!k


This one was made for my sons 3rd birthday, I am sure you realized that from the big "3", but I thought I would tell you anyway. His birthday is on Christmas, which is why there is a snowman, other than that, the other items were his favorite things. Come to think of it, they still are.

Obviously, 18th Birthday cake. This is actually one of my favorites. Simple and sweet.


This was for my father-in-laws 60th, again obviously. He is in law enforcement and well, he loves to mow his lawn, hence the lawn enforcement. I had my sister-in-law draw this emblem for me on her computer and print it out. Then I placed it on the cake and cut it out. I am so glad she was there for me.

Another favorite, having 3 boys, I always enjoy when I get to make a cake for a girl.

You either love or hate this guy. It was requested, so I aim to please.

Can't wait to show you my future cakes, so stay tuned.

Saturday, October 15, 2011

Simply Saturday: Sweet and Salty

One of my husband's favorite combinations: Sweet and Salty. I was feeling rather loving so I decided to make these for him. They were first made by a friend of ours and it was love at first bite. My husband asked, nay demanded, that I get the recipe. It is really quite simple.

You will need:

2 - 4oz best quality white chocolate bar, chopped
1 cup milk chocolate morsels
1 cup semisweet chocolate morsels
1 ½ cups chopped nuts (I used peanuts for these, but you can use any nut)
1 ½ cups broken pretzels


Result is a sweet and salty, yummy goodness.

Melt all the chocolate, stirring constantly until smooth. Add the nuts and pretzels and stir until combined.

Spoon onto wax paper. I really have not rhyme or reason, I just plop it on there with a spoon. That's how I roll.


Place in fridge for a few hours and Enjoy!

Sweet, Salty and Simple. Just how I like it.

So when you are feeling the love, make some of these, you won't regret it.

Tuesday, October 11, 2011

S'mores Caramel Popcorn

Sometimes my kitchen resembles a science lab. Lots of experimenting going on in there. Sometimes good and sometimes not so good.

When I feel I have stumbled across something my three boys will for sure devour I place it in front of them and anxiously await their response. 
My angels sit down at the table and are so overwhelmed with thankfulness for the meal I lovingly prepared for them that they declare, "Mom! No, not this! I don't like this!" followed by "How many bites until I'm done?"
What?!
After I take my deep breaths, I say the old standby, "There are children who do not have food, so be thankful for what is in front of you. And don't you dare say, Go give it to them then."
Sigh, please tell me I'm not alone and there are others out there who have the same children.

However, there are times when experimenting in the kitchen brings, "Mmm, Mom that's yummy".
One such occurrences happened last week.
I was reading how to make homemade S'mores Caramel Corn, so I thought I would give it a whirl.

Look, Oh look, what happened!

It consists of homemade caramel corn, recipe found here, please go look it up. She is a genius for making this recipe. It is made with popcorn in a paper bag placed in the microwave, easy peasy. You must try it! Then the possibilities are endless what you could do with it. Like add marshmallows, Golden Grahams and chocolate drizzle. Ok, I will post the recipe at the end of this post too, but do go check out her blog.


After the final touch of drizzling on the chocolate, I was tempted to get messy and dig right in.

 I resisted the temptation and put it in the fridge to set.


Just look at that chocolate drizzle up close. I love chocolate drizzle!

So hard to resist...


I will have to do a tutorial at a later time, but for now enjoy this close up... Yum!


I packaged it all up in nice little bags and shared the sweet chocolate drizzled love.
Microwave Caramel Corn

16 cups popped corn (I used two bags of microwave popcorn, but I'm sure it would be better made differently)

1 C brown sugar

1/4 C Karo syrup

1/2 C butter

Cook sugar, syrup and butter in a glass bowl in microwave on high for one minute. Stir and repeat for a total of five minutes. Should be hot and bubble.

Add:

1/2 tsp baking soda

1/2-1 tsp vanilla

Mix until foamy. Put popped corn into a brown grocery bag. Pour syrup into bag. Stir to coat. Fold bag over. Place in microwave and microwave for one minute and shake. Repeat. Microwave 30 seconds and shake. Repeat. (Sprinkle with cinammon sugar if desired and shake again)

Pour popcorn out to cool on wax paper.

Tom make it S'moresk, add some Golden Grahams cereal and mini marshmallows to the popcorn. Melt some, err, alot of chocolate in the microwave or stovetop, your choice, then drizzle over the popcorn mixture. Don't be stingy, the more chocolate covering the better. You know I'm right. Then put in the fridge for a few hours to set, then enjoy. Try not to eat half the tray before sharing like some people. Guilty.
For the complete blog post where I found this go to http://thirtyhandmadedays.com/2011/08/smore_caramel_popcorn_recipe/

Sunday, October 9, 2011

Monkey Baby Shower

I am so thrilled that my dear friend is having her baby boy next month. It has been quite a journey for her to get this day. Her story would take some time to write, but I cannot share it as well as she could, because she has lived it and well, she is a writer. So, I won't even try.

What I can do,however, is share her shower with you. It had lots of yummy treats and cute decor. The Mommy-to-be went away happy and glowing. which made it worth it all effort and love! Thanks to all the ladies that were willing to help. It was such a blessing!

The dessert table! Thanks to Pinterest.com and all their lovely ideas I came up with this display. Her nursery is a jungle animal type theme with emphasis on the monkey. She also requested for me to bake something S'mores-ish (yes, I like to make up words) so you will see alot of that flavor.

There was S'mores caramel popcorn (which I will blog about later), Chocolate sugar cookies, M&M's and animal crackers.....

S'mores cupcakes, banana bread (made by Ashley and it was super moist and yummy), chocolate covered banana bread (made by Lisa, again yummy) and chocolate covered marshmallows rolled in graham crackers......

and lots of cute presents!

A table to give your advice to the monkey jar for the new Mommy.

And of course, Cake!!! Let's talk about this cake for a minute shall we.


The recipe called for graham flour. I am pretty sure they don't sell that in the store, at least I haven't seen it, so I made my own. I put some graham crackers in the food processor and ground them to flour consistency.

I didn't get a picture of the rest, because my boys kept distracting me, so we will have to skip to the ganache I put in the middle layers. I use my trusty friend Alton Brown's recipe for this. I wonder if he knows were friends? Meanwhile, I piped some Marshmallow Fluff Buttercream frosting around the edge then filled with ganache.


I had a layer of graham cracker cake, a layer of Chocolate Cake and topped with another graham cracker cake. In between each layer is ganache. As you can see it started oozing out of the bottom layer. It does make it look yummy, but made it a bit more of a challenge to cover in frosting. The cake was then covered in Marshmallow Fluff frosting.

Oh yes, while I was at it, I made mini cupcakes with the two cake batters. I poured Graham Cracker Cake in the bottom of the cup, then sprinkled with a graham cracker mixture and then topped with the chocolate cake. I will post the recipe at the end don't worry.

After they baked, I cut a hole in the top with my small circle cutter. I am sure there is a better way, but that is the tool I had on hand. I put some of the ganache in the hole.

They were then iced with the Marshmallow Fluff frosting and ready to go... back to the cake!


The cake was covered in Marshmallow fondant and topped with a little monkey I made out of fondant. The sides are fondant circles that match her curtains in her nursery. Also little fondant blocks with the new baby's name on them.

Funny side story, I woke up that morning with my son running into my room yelling that his brother took off the monkey's arm. Fabulous, that's what I get for leaving it somewhere he could reach it. That middle boy of mine is sneaky though, he woke up before everyone else to go downstairs and impale my monkey. He probably would have eaten that arm if his brother hadn't snitched on him.

We had a great day and almost all the snacks were devoured or sent home. There were some very happy Sunday school girls that ate the last of the cupcakes the next morning.

Congratulations Erica! Can't wait to meet him!

Graham Cracker Cake and S'mores Cupcakes

1½ cups all-purpose flour
1-1/3 cups graham flour
2 teaspoons baking powder
1½ teaspoons salt
1½ teaspoons ground cinnamon
10 ounces (1¼ cups) unsalted butter, room temperature
1 cup brown sugar
1 cup sugar
¼ cup honey
6 eggs (wow! I know, I thought that was alot too)
2 teaspoons vanilla extract

1. Preheat oven to 350 degrees F. Line mini muffin tins with paper liners. I also lined a 6" cake pan with parchment paper.

Whisk together both flours, baking powder, salt and cinnamon.

2. With an electric mixer on medium-high speed, cream the butter, sugars and honey until pale and fluffy. Reduce speed to medium; beat in the eggs and vanilla, scraping down the sides of the bowl as needed. Add the flour mixture and mix until just combined.

3. Place about a teaspoon of the batter in the bottom of the lined cups.

4. Make Chocolate cake, I use Hershey's recipe on the back of the cocoa powder.

5. Sprinkle with graham cracker mixture: 1/4 cup of graham cracker crumbs, 1/4 cup brown sugar and 2 tbls melted butter.

Pour about 1 Tbls of the Chocolate cake in the rest of the cup.

6. Bake until a thin knife inserted in the centers comes out with only a few moist crumbs attached, about 10 minutes. . Transfer tins to wire racks to cool 10 minutes; turn out cupcakes onto racks and let cool completely. Cupcakes can be stored up to 1 day at room temperature, or frozen up to 1 month.

For the cake I some of the graham cracker cake batter in a 6" cake pan and baked for about 25 minutes.


Wednesday, October 5, 2011

Baby Shower Creations

This Saturday I have the honor of creating a baby shower for one of my best friends in the whole world. She has had quite the journey to get where she is today. This baby is very special indeed. In honor of her and her new baby boy here are some past cakes I have made. I will be busy planning her shower, but will be back with all the pictures and details. Enjoy these for now.

Safari baby shower, all the animals made from fondant. This was a very heavy cake, tons of buttercream frosting!

Animals up close, I loved those guys.

This cake was modeled after the babies nursery colors.

I will be back with the shower details this weekend!

Sunday, October 2, 2011

Lemon Meringue Pie Experiment

My Grandma used to make the best Lemon Meringue Pie, hands down. I have never been able to make it like her and have never tried. Last night, however, I was at a friends house and we decided to bake. Just because. We were trying to decide what to make when she mentioned she just learned how to make Lemon Meringue Pie, with a shortcut. I'm all about shortcuts, so away we went.
The recipe was scratched out by her Aunt onto a recipe card. This particular Aunt doesn't really measure, so here is an attempt at explaining it.

These are the shortcut ingredients: Jell-O cook and serve (lemon flavor) and ready made pie crust. Feel free to make your own, I have not mastered that skill yet. Put the crust in a 400 degree oven for about 10min to brown.

In a shallow pot place the Jell-O, 1/2 cup + 2 Tbls of Sugar, and 1/4 cup water until combined.

Add 3 egg yolks (save whites for meringue) and gradually add scant 2 cups of water (basically 2 cups minus 2 Tbls) Cook this over medium heat, stirring Constantly, until thick. Take off heat and let sit 3-4 min (this is an important step, which we forgot) Don't forget to let it sit, lesson learned. AFTER it sits, add 2 Tbls butter or margerine and 3 Tbls of lemon juice. Set aside and on to the meringue.


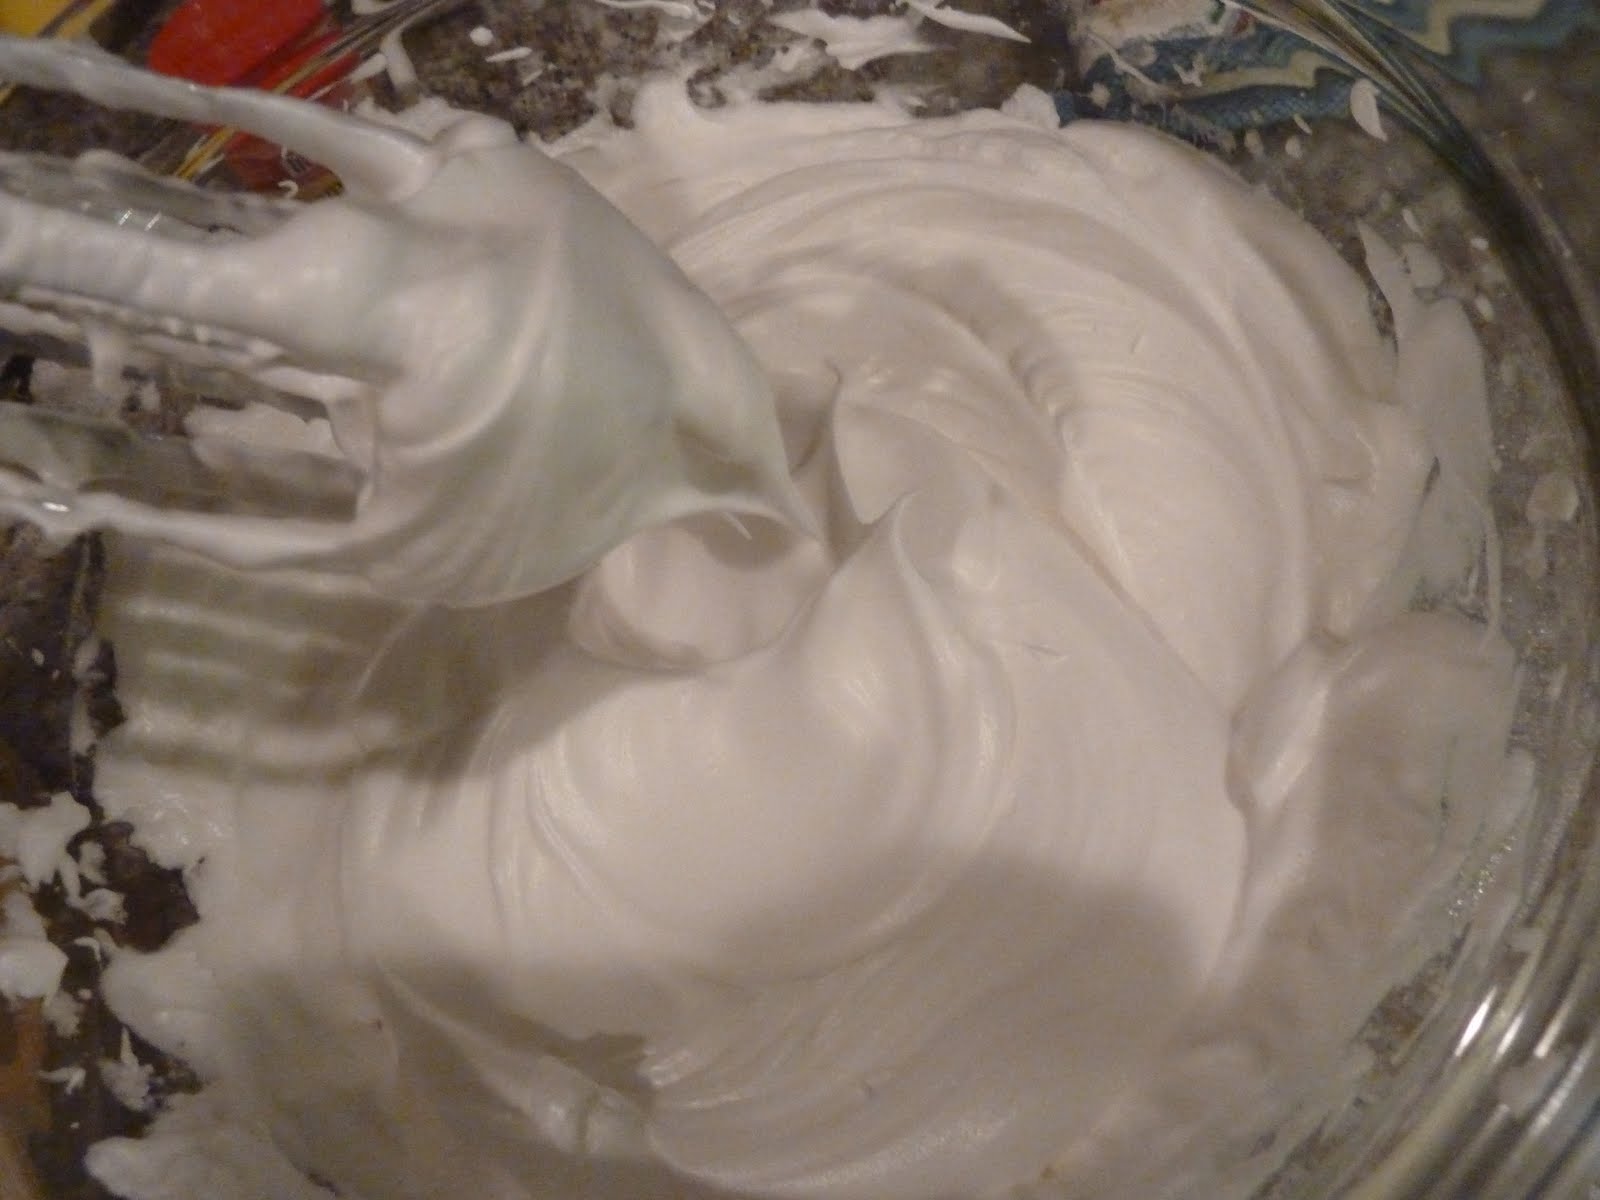
Take your reserved 3 egg whites and add 3 Tbls of ICE cold water, emphasis on the ICE cold and a pinch of Cream of Tartar, yes just a pinch, so stick your finger in there and pinch some out. Beat them until you think they are peaked and then beat them again. These whites need to firmly stand on their own. I still think I didn't beat them enough because the meringue didn't stand very high. When you are positive they are firm and peaking beyond reason add 1/3 cup sugar and 1/2 tsp vanilla and yes, beat again.

After you are done with the beating, pour the lemon mixture into the baked pie shell. Spoon the meringue over the lemon filling and start "peaking" with your spatula. I am sure the peaks were supposed to be higher, but we couldn't turn back at this point. Should have beat longer, oh well.

Bake at 400 for about 5 min, you just want to brown the meringue.


Voila! Lemon Meringue Pie!

Of course we couldn't wait for it to cool, so we dove right in. Yes it was messy, but we didn't care, it was lemony, yummy goodness. Still not like Grandma used to make, but definitely good enough to eat a slice and then sneak another.

On a side note, it is runny because it was hot, but also because we forgot to let it sit way back at the beginning. It will still be a little runny, however, but it will set better.